Thursday, January 19, 2012
Friday, September 23, 2011
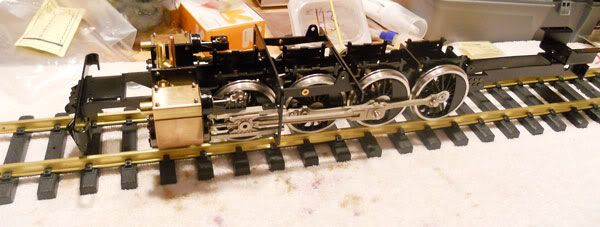
Mikado on the mainline
Here she is minus a proper train, but that will be the next order of business. I made some mistakes as a first time runner, but hopefully all will smooth out over time.
Thursday, September 15, 2011
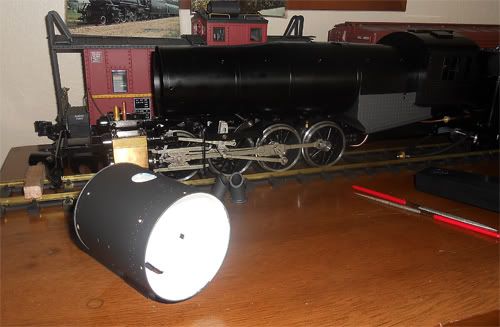
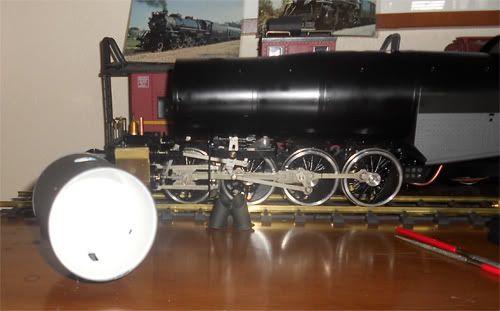
It's ALIVE!!!!!!
Well, to borrow the cliche from Mary Shelly's Frankenstien "its alive".
I'll be posting some picutres of the rest of the building process, but here is a link to see it running on stationary rollers. I'll be taking it to Norm Saley's track next week to give it a proper shake down run. Albeit a short one though as I am still awaiting a piece that will allow me to use the axle pump I have added to the kit. The axle pump will allow water to be pumped into the boiler as it runs which will extend the run as long as I keep the tender filled with water. Aster hobbies has been good at working with me in providing the parts I need.
I needed the bottom sight glass soldered or replaced, but that part is on back order currently so Norm was kind to solder the one I have up the proper way so now it can build steam pressure. Well, I'll be taking a good lengthy video of it's first proper run on track, but until then, enjoy these short clips and if you are a veteran of live steam, feel free to let me know what you think. I can get it running at a pretty low speed, so I think I have the timing near where it should be in forward gear. Notching it back a bit slows it down as well while using less steam.
Wednesday, August 10, 2011
Boiler phase
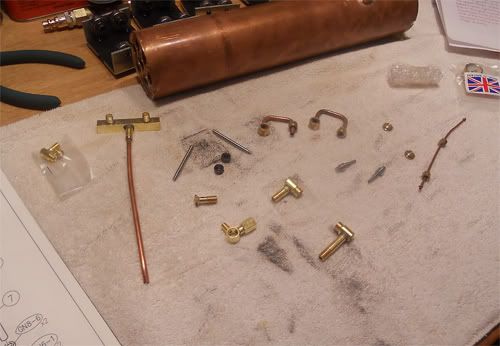
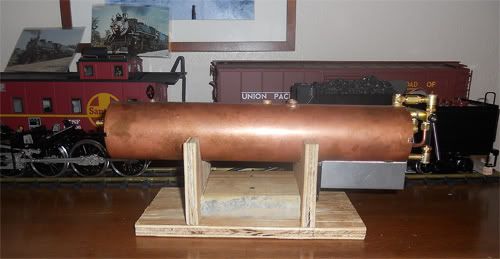
So, time to do some plumbing work on the boiler to get all the fittings on. To help make it a bit easier to work on, I made a little boiler cradle out of some scrap wood.
Here I encountered a few leaks after doing a hydro test with my tender water pump hose connected to the clack valve (check valve) on the boiler back head. Using some more sealing compound I had all the ones I could fix addressed. However, there was one fitting which holds the sight glass to the bottom which I need to either have replaced or have someone solder as the solder never fully tinned the radius of the fitting. So, it leaks a lot there.

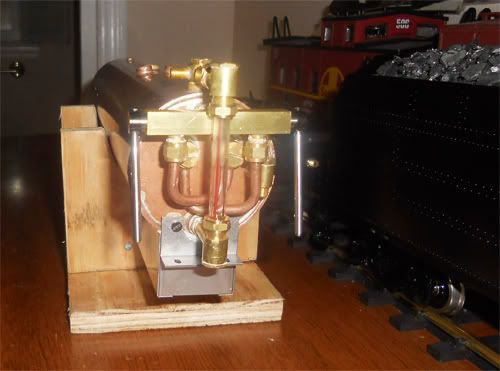
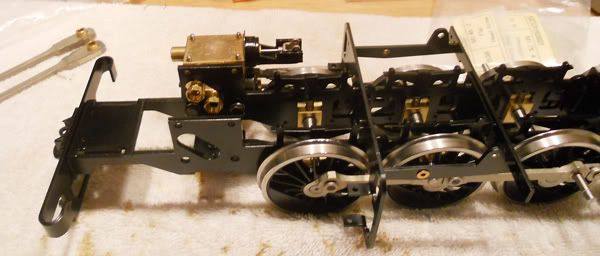
I also assembled the axle water pump and fit it on the chassis. This device will allow the boiler to be filled while under pressure with the rotation of the drivers. When the boiler is at the proper level I can open the bypass valve and return any water to the tender as the pump continues to do it's job.
It is here I encountered another issue. I am missing a part which will connect the axle water pump line to the clack valve. So, another roadblock and I have to await the part. No biggie. I don't have a deadline to get this engine running.
Here you can see the fire tubes which will superheat the steam as it passes with the steam line into the cylinders.
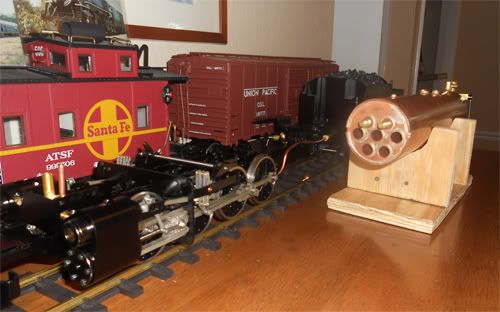
Now it was time to insulate the inside of the smoke box with some ceramic paper that Aster provides in the kit. This will seal up the smoke box from any outside air which might hinder the draft being created by the engine's blower and will also keep the outside of the smoke box a bit cooler to the touch, but caution will still have to be followed in handling an engine under steam.
Firebox insulated as well

Tuesday, July 26, 2011
Time.............
Well,

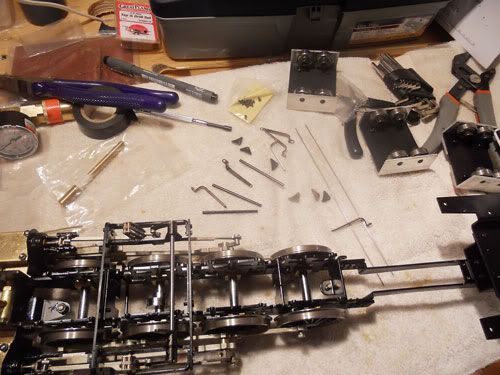
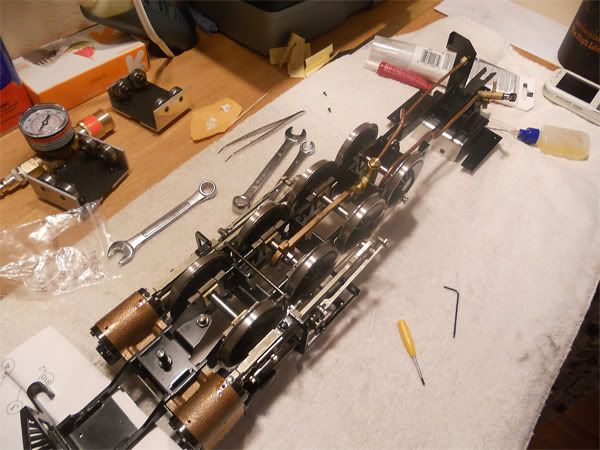
I got the rest of the valve gear on the chassis and spent quite a bit of time on "timing" the valve events. It involves setting the crank pin at the right angle, then having the other crank pin 90 degrees different. Then you have to adjust the slide valve via the block and set screws which bind down the block to the valve spindle. After reading over and over the directions and looking at the matching diagrams AND talking with a few people, I feel I have the valves timed for Forward motion pretty good. I put the nuts on the cylinder studs and now have to do an air test. Pushing the chassis along a length of track is great. Seeing all the working levers, arms and gear and feeling that compression from the cylinders is unlike any electric locomotive experience. I can see why those who have gone to live steam never look back at the electric train hobby.
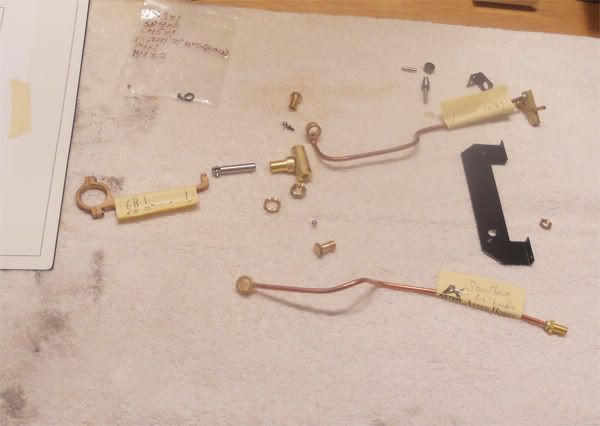
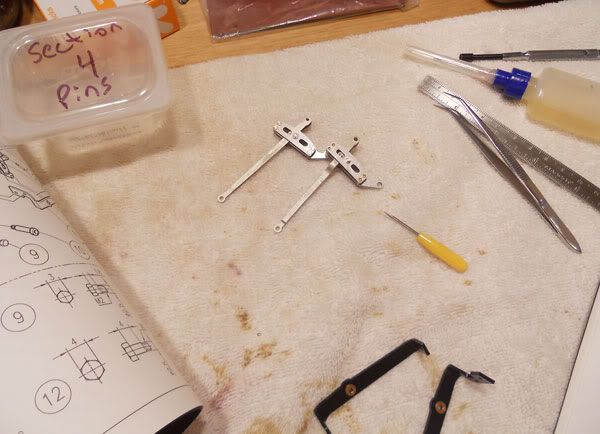
Here are the parts for the dummy brakes
Saturday, July 23, 2011
What a wonderful Wife
I just wanted to take this moment to say thanks to my wonderful Wife, Erika. She is always happy to upload my pictures I have taken during my building. I then copy those and arrange them in my posts, but she really makes things easy for me on that end. I love her and she is also the reason why I am still building. She saw the passion I had this hobby to allow me to purchase it. I would not have done so without her support. It is a sacrifice for both of us. I know that it will bring me hours of joy not only because I will get to run it, but I will get to share it with my family and especially my children, Shannon and Forest. Thanks Erika.
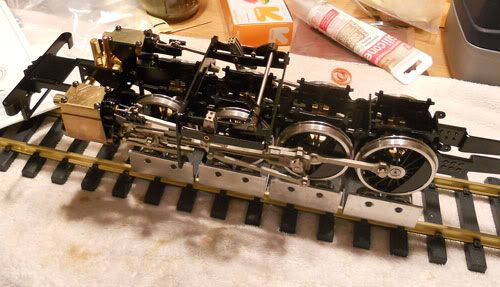
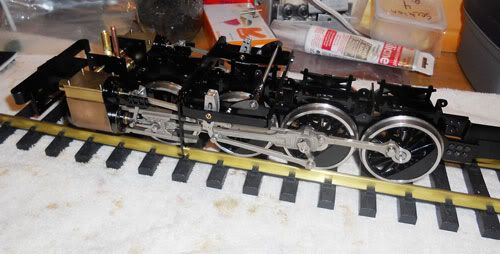
Mounting the cylinders to the chassis
I wanted to get the cylinders mounted to the chassis for my last step before I take a break in building due to my work schedule and not having my set of needle files arrive yet. The next section will require a bit more filing for fit than previous sections. So, I got the front and rear motion plates on which will attach to the slide bars.

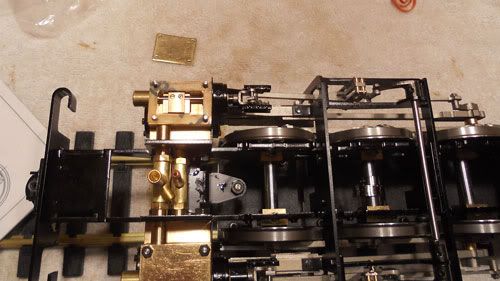
Then it was time to mount the first cylinder and get the steam and blast pipes lined up.
Next, I got the second cylinder on and then fastened everything up. While the blast pipe is snug between the two cylinder steam pipes, the valve chest steam pipes do not sit quite as snug against the center steam admission pipe (threaded one). There are 0 rings inside, but I won't know till I do an air test if it will hold or leak there due to it not being quite as snug.
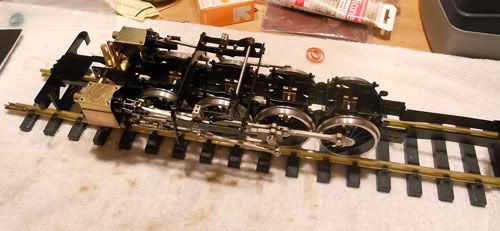
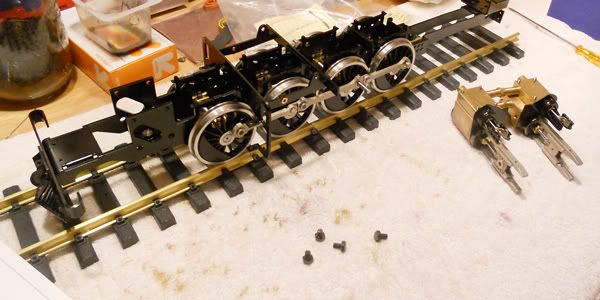
I also have a bit of rubbing from the front screw/washer attaching the coupling rod to the first set of drivers on the engineers side (right side looking from cab to smokestack). It seems to rub a bit when the side play allows the axle box to slide on the axle as if the train were making a left handed turn. It does not bind up the drivers but I'll have to keep an eye on that as well when I do the air test. Other than that, it went together fine. Section 3 was rather mild compared to the previous section and not as fun, but still good to have everything on the chassis and it is definitely looking more and more like a real steam locomotive.
Subscribe to:
Posts (Atom)