Friday, June 24, 2011

On my mind

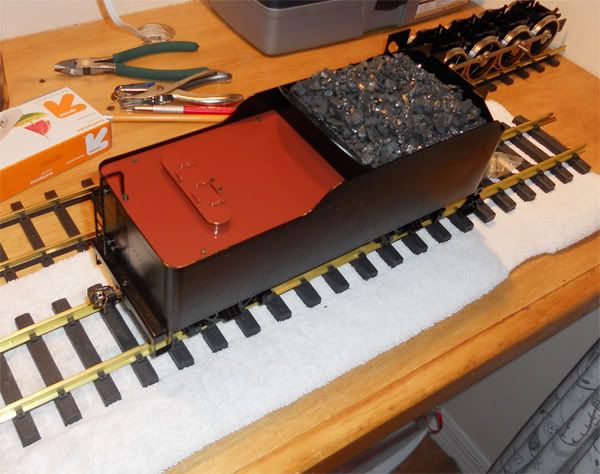
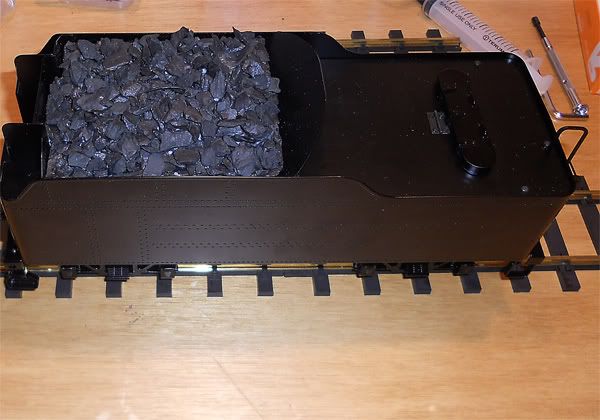
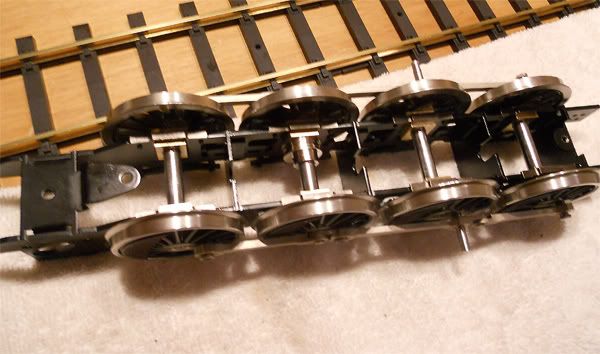
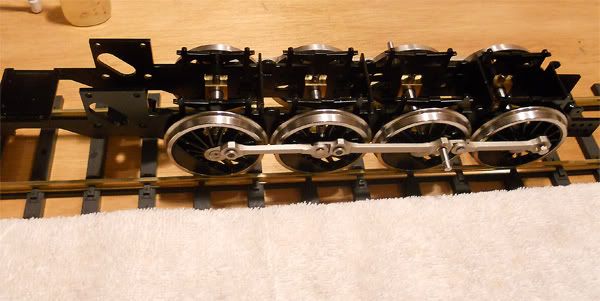
Ever have that "one" thing on your mind and until you sorted it out, you could not think of too much else? Well, not to that extreme, but one thing about building the cylinders had been on my mind. Since that is the next step in my process of constructing the Aster Mikado, I had to have a trial run. On some of the Aster Mike kits, the cylinder studs were a bit short and as you sandwich the cylinder, valve assembly together the threads on top came up short when attaching the nut atop to fasten everything together.

I don't know for certain whether or not I have short studs, but one threaded side of the stud is longer than the other. According to the assembly diagrams, the longer threaded side goes into the cylinder body with the shorter threaded side, separated by a smooth shaft, sticks out atop the valve plate and the nuts go on here. Well, if I have the longer side in the cylinder and I assemble everything together, there is not enough threads to protrude above the plate to give the nut threads to attach to. If I reverse the studs, then there is too much threads atop and it would interfere with the cylinder shrouds later on in the building process.

The two options here are to get the correct length of studs replaced by Aster, or thread the studs in then take them out enough to give more threads on top. I chose the latter option. I was given the advice to add some loctite to the bottom threads so that when I attached the nut on top it would not pull the studs out when tightening the nuts. I chose to go another route. After seeing if the method would work, I chose to add loctite to the top threads and then put the nut on with the stud filling up all the threads in the nut so the stud body was flush with the top of the nut. I will let the loctite dry and what I have effectively done is create a bolt to screw into the cylinder sandwiching everything together.

The reason I did this was on account of every time I would try to add the nut, I would end up forcing one or more of the studs further into the threads in the cylinder body. Either way would be fine I guess, but I chose to do this method. After vacation when I lap the cylinder I can just put everything together and screw in the studs/bolt.

Update: Since doing this, I have taken those nuts off and cleaned up the threads. I'll use loctite 242 on the bottom threads which go into the cylinder block instead.
I measured the height the studs need to be (which is 12mm to give the nuts on top enough threads to be flush with the nuts after snugging them down). Thanks David.

Saturday, June 11, 2011

Cooler water

In the spare time I have had, I painted the top of the tender's water tank. I used Scalecoat I "freight car red" which is a Pennsylvania railroad color that they used on freight cars as well as on the tops of tenders and cabs of the PRR locomotives (I'll be making this a PRR locomotive). I am told this is because it was a lighter color than the dark green locomotive enamel and allowed the water in the tender to stay cooler. Cooler water is better for the injectors which would take the water from the tender, mix it with steam and feed it to the boiler. I think it looks good too. I got the scalecoat paint in a spray can form from Weaver models. I partially followed their application instructions which called for baking the painted surface in an oven for several hours on a low heat of 175 degrees. I did 170 and only let it bake for 1 hour and 30 minutes as it was a very light coat on top of the factory paint. The scalecoat I colors are for brass and other types of metal. Scalecoat II is for plastics. So, if you are purchasing this paint, be sure to get the proper paint for what you will be using it on. I left the screws which attach the top to the tender black because I think it looks OK that way. I may change it later which should be quite easy.

I also have modified my coal load for the tender by crushing some smaller pieces and adding to the top for a more scale look.

after
Photobucket

before
Photobucket

Wednesday, June 1, 2011

smooth coasting

Well,
I assembled the chassis, well at least the drivers, coupling rods and horn stays.

After working through some kinks (again, no pun intended), the chassis rolled very smoothly. I was stubborn and did not use the method of using grease on the end of the screw-driver to hold the screw in place, so putting on those horn stays was really interesting and probably took longer than it should have, but I had fun. I used the mini-screwdriver that came with the kit and didn't have to make the modifications to the larger one like Marc Horovitz had to. It fit quite well in between the driver spokes.

I then secured both coupling rods. Funny thing is that when I had the coupling rods on one way, it would bind up, so I put the right one on the left side and the left on the right, and smooth rolling. I used machine oil from 3-in-1 (blue can) and looks and rolls real nice.

Photobucket

Photobucket

Now, I do promise that I am stopping now for the summer. I had to get this whole business of the coupling rods out of my system before I left for New York. I would like to take this opportunity to share a revelation I have had during this process. Here is a video clip of the chassis rolling along a length of track.

http://www.youtube.com/watch?v=pBSkqvBHf9g


I appreciate when people who have "been there, done that" offer their advice. I really do. However, with that said, I feel that a few tips given to me had me worried needlessly. One was in the coupling rod's bushing holes. The fact that someone emailed me saying they had some issues gave me concern that I might get a similar experience. Well, the minute I opened up box 1 I saw the coupling rods and also noticed the bushings were drilled "off-center". OH NO! is what I thought. Well, as I found out both through experience and talking with a friend, those rods were the right fit. So, it goes to show that sometimes advice offered as a help, can sometimes lead to needless concern. I guess I have learned that I need to cross the bridge when I get to it, and not worry about it beforehand.

Either way, Hans and Aster were ready and willing to help, so I thank them. I also found that the cylinder studs I have are 19mm long which are longer than the ones supplied with some of the other kits which had "shorter" studs. Hans provided a clear picture for me showing the shorter of the two. I have the longer of the two. This again was concern born of "tips". I don't want to give the impression I am not thankful for people who offer their experiences, I am truly grateful.