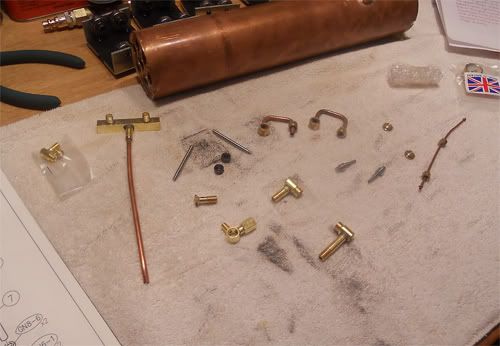
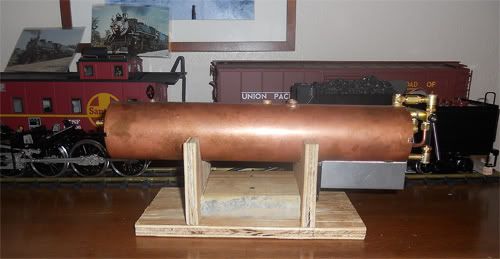
So, time to do some plumbing work on the boiler to get all the fittings on. To help make it a bit easier to work on, I made a little boiler cradle out of some scrap wood.
Here I encountered a few leaks after doing a hydro test with my tender water pump hose connected to the clack valve (check valve) on the boiler back head. Using some more sealing compound I had all the ones I could fix addressed. However, there was one fitting which holds the sight glass to the bottom which I need to either have replaced or have someone solder as the solder never fully tinned the radius of the fitting. So, it leaks a lot there.

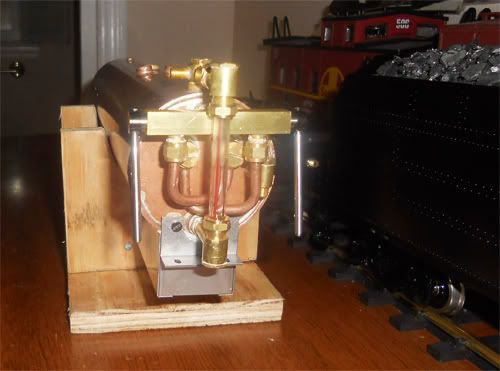
I also assembled the axle water pump and fit it on the chassis. This device will allow the boiler to be filled while under pressure with the rotation of the drivers. When the boiler is at the proper level I can open the bypass valve and return any water to the tender as the pump continues to do it's job.
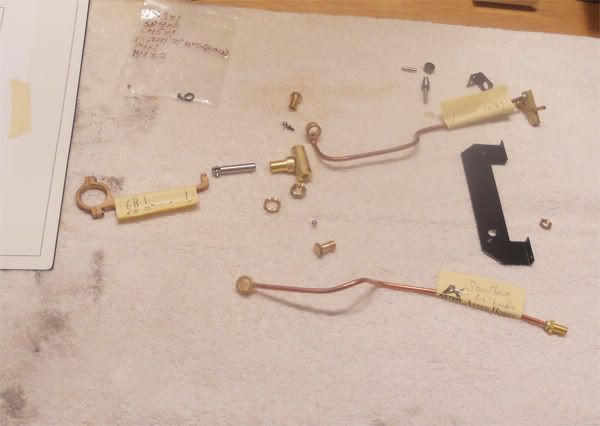
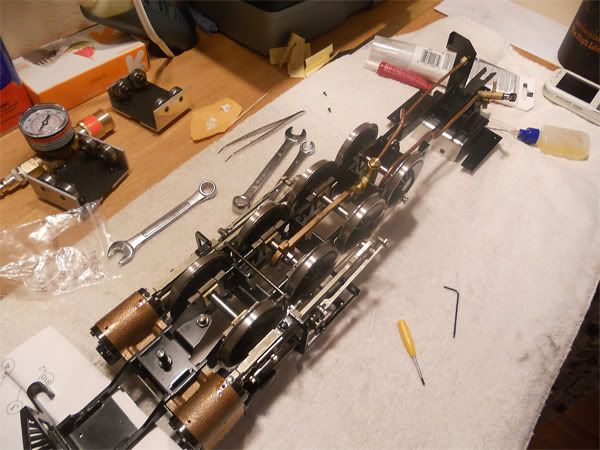
It is here I encountered another issue. I am missing a part which will connect the axle water pump line to the clack valve. So, another roadblock and I have to await the part. No biggie. I don't have a deadline to get this engine running.
Here you can see the fire tubes which will superheat the steam as it passes with the steam line into the cylinders.
Now it was time to insulate the inside of the smoke box with some ceramic paper that Aster provides in the kit. This will seal up the smoke box from any outside air which might hinder the draft being created by the engine's blower and will also keep the outside of the smoke box a bit cooler to the touch, but caution will still have to be followed in handling an engine under steam.
Firebox insulated as well

No comments:
Post a Comment